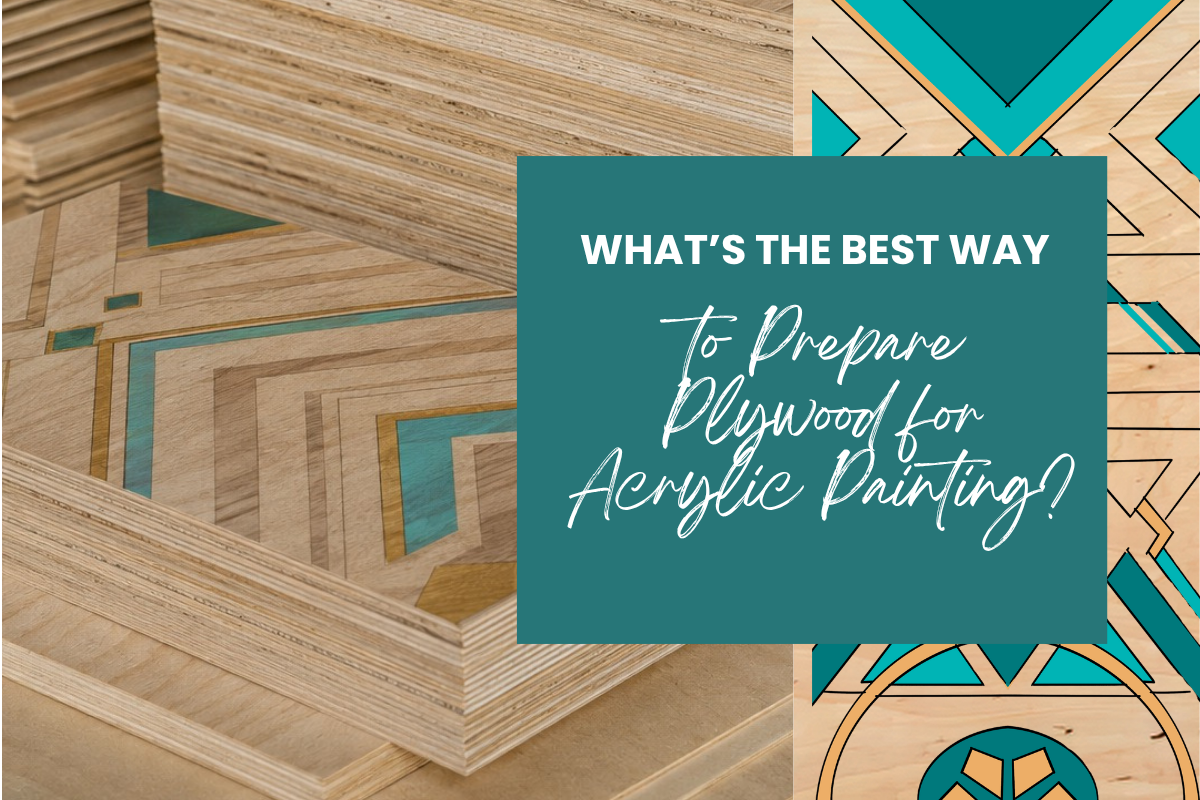
Yes, you can paint acrylic on plywood but the preparation of the surface makes a big difference.
After working with acrylic on plywood, I’ve found that there isn’t one single preparation method that works for every painting. Sometimes I want a smooth, almost canvas-like surface. Other times, I deliberately leave some of the character of the plywood behind because I want the wood and the paint to work together.
For my own work, I regularly use 8mm–12mm plywood, although I’ve also worked with 4mm and 16mm depending on the project.
Here’s the process I use.
1. Start with good plywood
The first step happens before any paint touches the board.
I look for plywood that is reasonably flat, structurally sound and has a surface suitable for the finish I have in mind.
For most of my plywood paintings, 8mm–12mm is my comfortable working range. I’ve also used thinner 4mm plywood and much heavier 16mm boards.
The thickness isn’t simply about painting. It can affect how the finished artwork feels, how substantial it is, and how practical it is to hang.
For a smaller decorative panel, thinner plywood can work beautifully. For larger artwork, I generally prefer something more substantial.
2. Sand the plywood
I always start by sanding the surface.
The purpose isn’t necessarily to make the plywood perfectly smooth. It’s to remove rough areas, loose fibres and imperfections that could interfere with the paint.
This is also where I make a decision about the final character of the artwork.
If I’m looking for a smooth painted surface, I’ll spend more time preparing the wood.
But sometimes I actually want some of the natural texture to remain.
That is one of the things I enjoy about painting on plywood compared with canvas: the surface can become part of the artwork rather than simply disappearing underneath it.
Don’t over-sand everything
This is one of the shortcuts I would not recommend.
It’s tempting to keep sanding until the board feels completely smooth, but you don’t necessarily need to turn plywood into a piece of glass.
If the artwork is going to have texture anyway, some surface character can actually be desirable.
3. Seal the surface
Once the plywood has been sanded, I seal it before building up the painted surface.
Why?
Because plywood is porous. If you immediately start applying paint, the surface can absorb it differently from one area to another.
Sealing gives me a more controlled surface to work on and helps separate the raw wood from the layers that follow.
This is particularly useful when I want the acrylic paint to sit more consistently on the board rather than disappearing into it.
4. Add gesso
After sealing, I use gesso to create a suitable painting surface.
For a very smooth finish, I’ll build up the preparation and sand between stages as necessary.
But here’s where my approach differs slightly from the idea that plywood must always be prepared into an absolutely perfect, uniform white surface.
Sometimes I deliberately go straight from sanding to gesso.
If I want the finished painting to retain more surface texture, I don’t try to eliminate every little characteristic of the plywood.
The gesso becomes part of the surface rather than simply a barrier between the wood and the paint.
That can give the finished work a more tactile, handmade quality.
5. Build up the acrylic surface
Once the board has been properly prepared, I can begin painting.
Depending on the work, I may build up several acrylic layers sometimes around three coats or more rather than expecting one application to give me the final colour and coverage.
This is particularly useful when I’m working with strong colour blocks, geometric forms or areas where I want the paint to have visual depth.
The important thing is not to rush the layers.
Let each layer do its job before deciding whether another one is needed.
My plywood preparation isn’t always about perfection
This is probably the biggest lesson I’ve learned from working with plywood.
When you search for instructions on preparing wood for painting, much of the advice focuses on achieving a perfectly smooth, completely uniform surface.
That’s useful advice if that’s the finish you’re after.
But I don’t always want that.
My plywood paintings are intentionally tactile. I like the relationship between the raw material, the prepared surface, the acrylic paint and the texture that develops through the painting process.
So my preparation changes according to the artwork.
For a smooth geometric piece, I’ll prepare more carefully.
For a more textured work, I may sand the plywood, apply gesso directly and allow some of that underlying character to remain.
There isn’t a rule saying plywood has to stop looking like plywood.
Sometimes that’s exactly what makes it interesting.
A simple plywood preparation checklist
If you’re preparing plywood for your first acrylic painting, my basic process would be:
- Choose a suitable plywood panel
- Sand the surface
- Remove sanding dust
- Seal the plywood
- Apply gesso
- Sand between layers if you want a smoother finish
- Build up your acrylic paint in layers
- Allow the surface and paint to dry properly between stages
- Stop preparing when you’ve achieved the surface you actually want
And that last point is important.
Don’t prepare the wood for someone else’s idea of what a painting surface should look like. Prepare it for the artwork you’re making.
What I do
For my own acrylic-on-plywood work, 8mm–12mm plywood is my usual choice, although I’ve worked with 4mm and 16mm as well.
I sand, seal and gesso when I want a controlled painting surface, and I adjust the preparation when I want more texture and evidence of the plywood underneath.
That’s one of the reasons I continue to enjoy working on wood: the surface isn’t passive. It contributes to the finished piece.
Leave a Reply